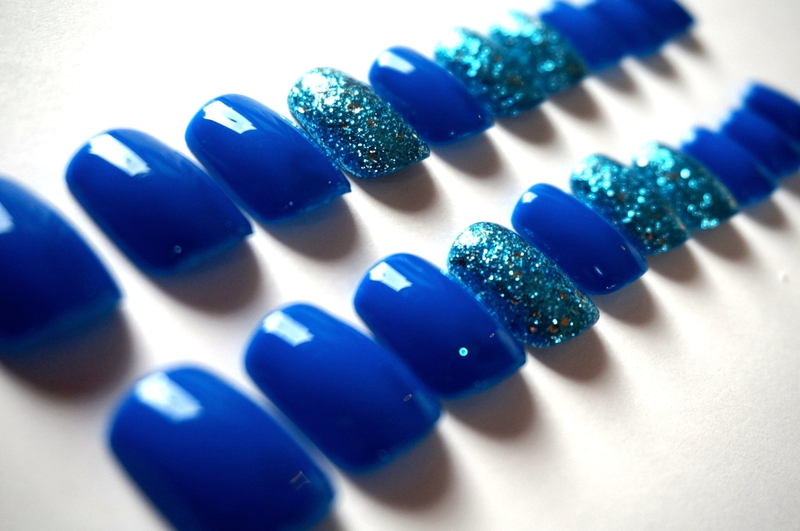
Fake nails create a flawless manicure style and save you the hassle of growing out and polishing your nails with the right nail polish color. For those who have problems growing their nails, glue-on nails always come in handy. You can also use them when you need to have long nails for a specific event. Most fake nail sets are made of acrylic, and they include a full set of nails and quick drying nail glue. Fake nails should be used occasionally as the glue can destroy your natural nails if used often. This article will give you tips on how to put on beautiful fake nails.
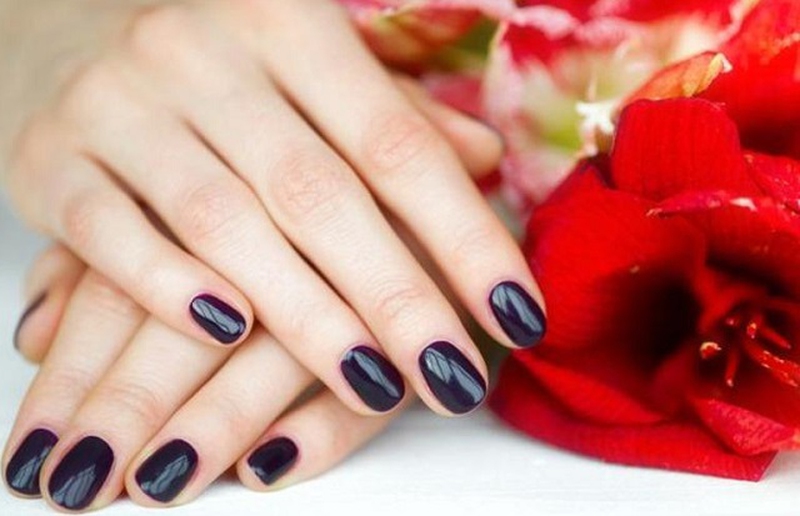
How to Put on Fake Nails
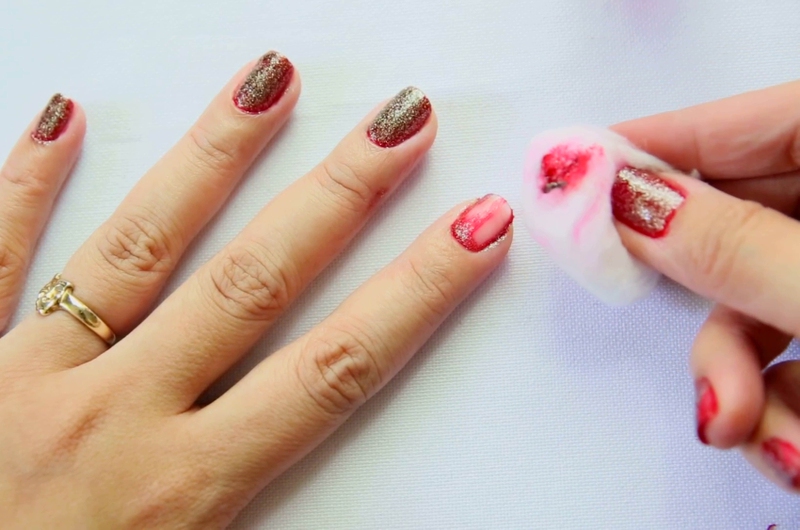
Remove the Old Polish
In order for the fake nails to stick, you must remove any traces of old polish from your nails. If you had fake nails, remove them by soaking your nails in acetone. After they’re off, wash your hands to remove the acetone from your hands since the chemicals can dry your skin.
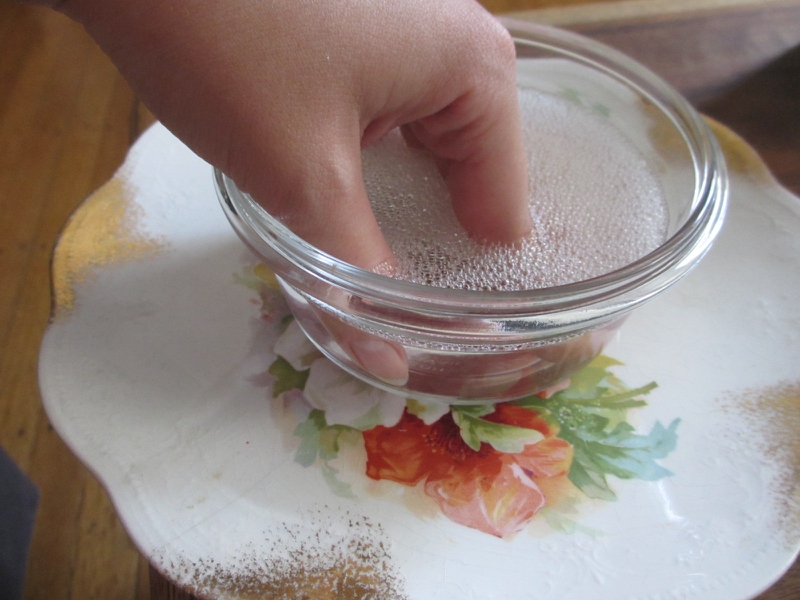
Soak Your Nails
Before fixing fake nails, manicure prep is recommended. It will help the nails stay longer and your natural nails stay healthy all through. Soak your hands in warm water till your nails are nice and soft. Dry them with a towel. If you wish, you can add a body wash to the water, but avoid anything with oil. Oil will make it harder for the nails to stick.
.
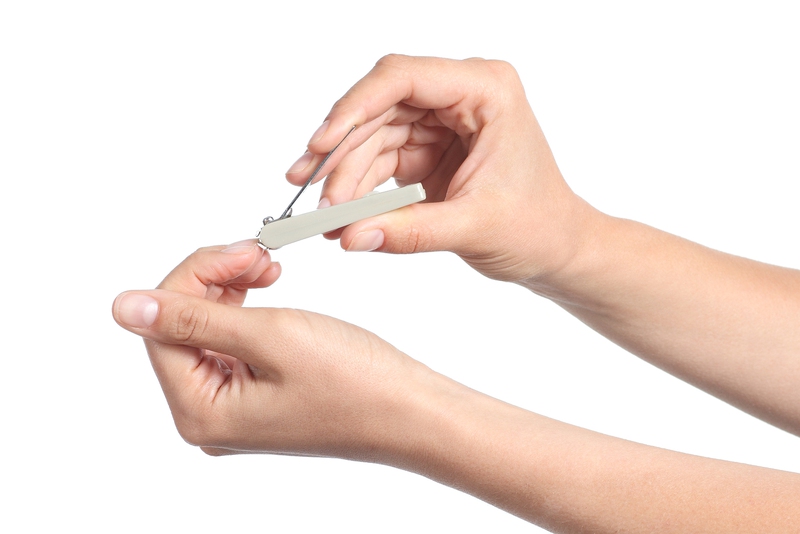
Trim Your Nails
The 3rd step on how to put on fake nails is trimming your nails. You can use nail scissors or a nail clipper to make them an even size. Make them nice and short but not too short so that the fake nails can have enough sticking ground.
Use a nail file to smooth out the edges. As for your cuticles, do not trim them since they prevent infections. Instead, just push them back so that you do not stick the nails on your skin. Do this when your hands are still moist. For the nails to stick better, use a nail buffer to buff your nails. This will give a nice rough surface that makes the fake nails stick better.
Prepare Your Fake Nails
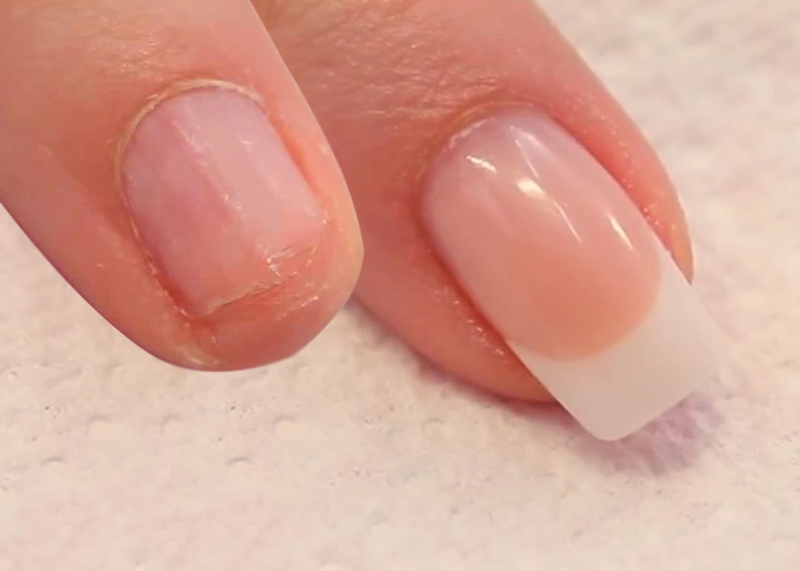
Lay all the nails in the pack on the table and arrange them. The largest goes to your thumbs and the smallest to your pinky fingers. Ensure that they comfortably fit over your natural nails. In some cases, you might need to file the bottom edges of the fake nails. Most fake nail kits come with a bottle of adhesive that is quite easy to apply. However, if you have acrylics or gels, the process is more complex.
Put On the First Nail
Apply a dab of glue on your real nail and some on the part of the fake nail that will rest on your nail only. Carefully put the fake nail over your actual nail so that the curves are aligned perfectly.
Gently press it for 10 seconds for setting. Ensure you leave no gap and the nail is placed straight. The glue tends to dry very fast. Be careful not to apply too much glue because it will squirt from the edges. If this happens, wipe gently with a cotton swab. It is advisable to start with your dominant hand first.
Finish the Job
The final step on how to put on fake nails is applying the fake nails on the rest of the fingers according to the steps mentioned. If you wish you can file the nails to your desired shape. Here is a detailed video telling you how to put on fake nails.
Know Which Kind of Fake Nails to Choose
Acrylic Nails
Acrylic nails mostly use acrylic monomer or powder. You can use them as tip extenders or apply them as a whole nail.
Advantages
Last long
Durable and tough
They are cheap and cost effective
They dry quickly in 30-40 seconds
If they break, they are easily removable and repairable
Easily removable by soaking them in acetone for 15 minutes
Disadvantages
Look fake
Feel a bit heavy
Have a strong irritating smell
If your hands are not as clean, you might get an infection
Gel Nails
They are considered to be a safer option compared to acrylics.
Advantages
No smell
Glossy finish
No need to prep
Flexible, durable and look natural
Less chances of infections
You can apply normal nail polish on top
Disadvantages
More expensive
Hard to remove and must be filed off
Last only for 2 weeks
Long exposure to UV light can damage skin cells
Shellac Nails
They are a hybrid of acrylic and gel nails.
Advantages
Can last for 30 days
Fresh and glossy look
Smooth nail surface
Light feel on fingers
No need for filing
Removed by soaking in acetone for 8 minutes, and then scrapped using a cuticle remover
Disadvantages
Dry under UV light
More expensive compared to acrylic and gel nails
Only people with smooth nails can have them
You must go to a salon for the procedure


View All Comments /Add Comment